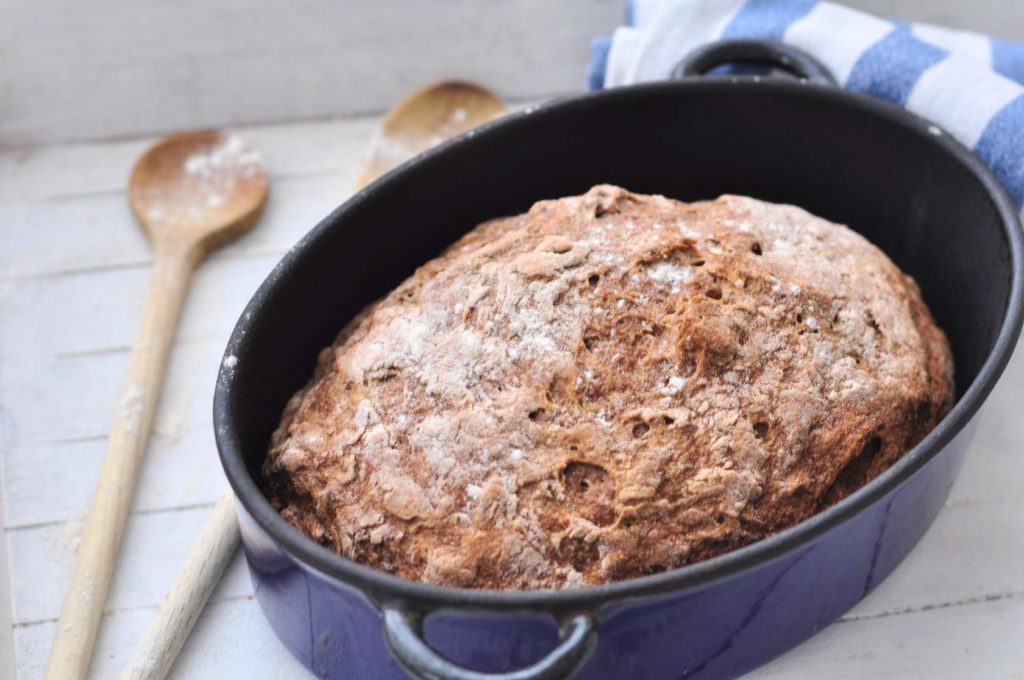
Crunchy Chia-Walnut Bread Baked in a Pan
Bread. With a hearty crust and air bubbles. Toasted, crunchy and infinitely good. Mmmm. Today there will be crunchy chia-walnut bread for breakfast, lunch and the dinner with soup.
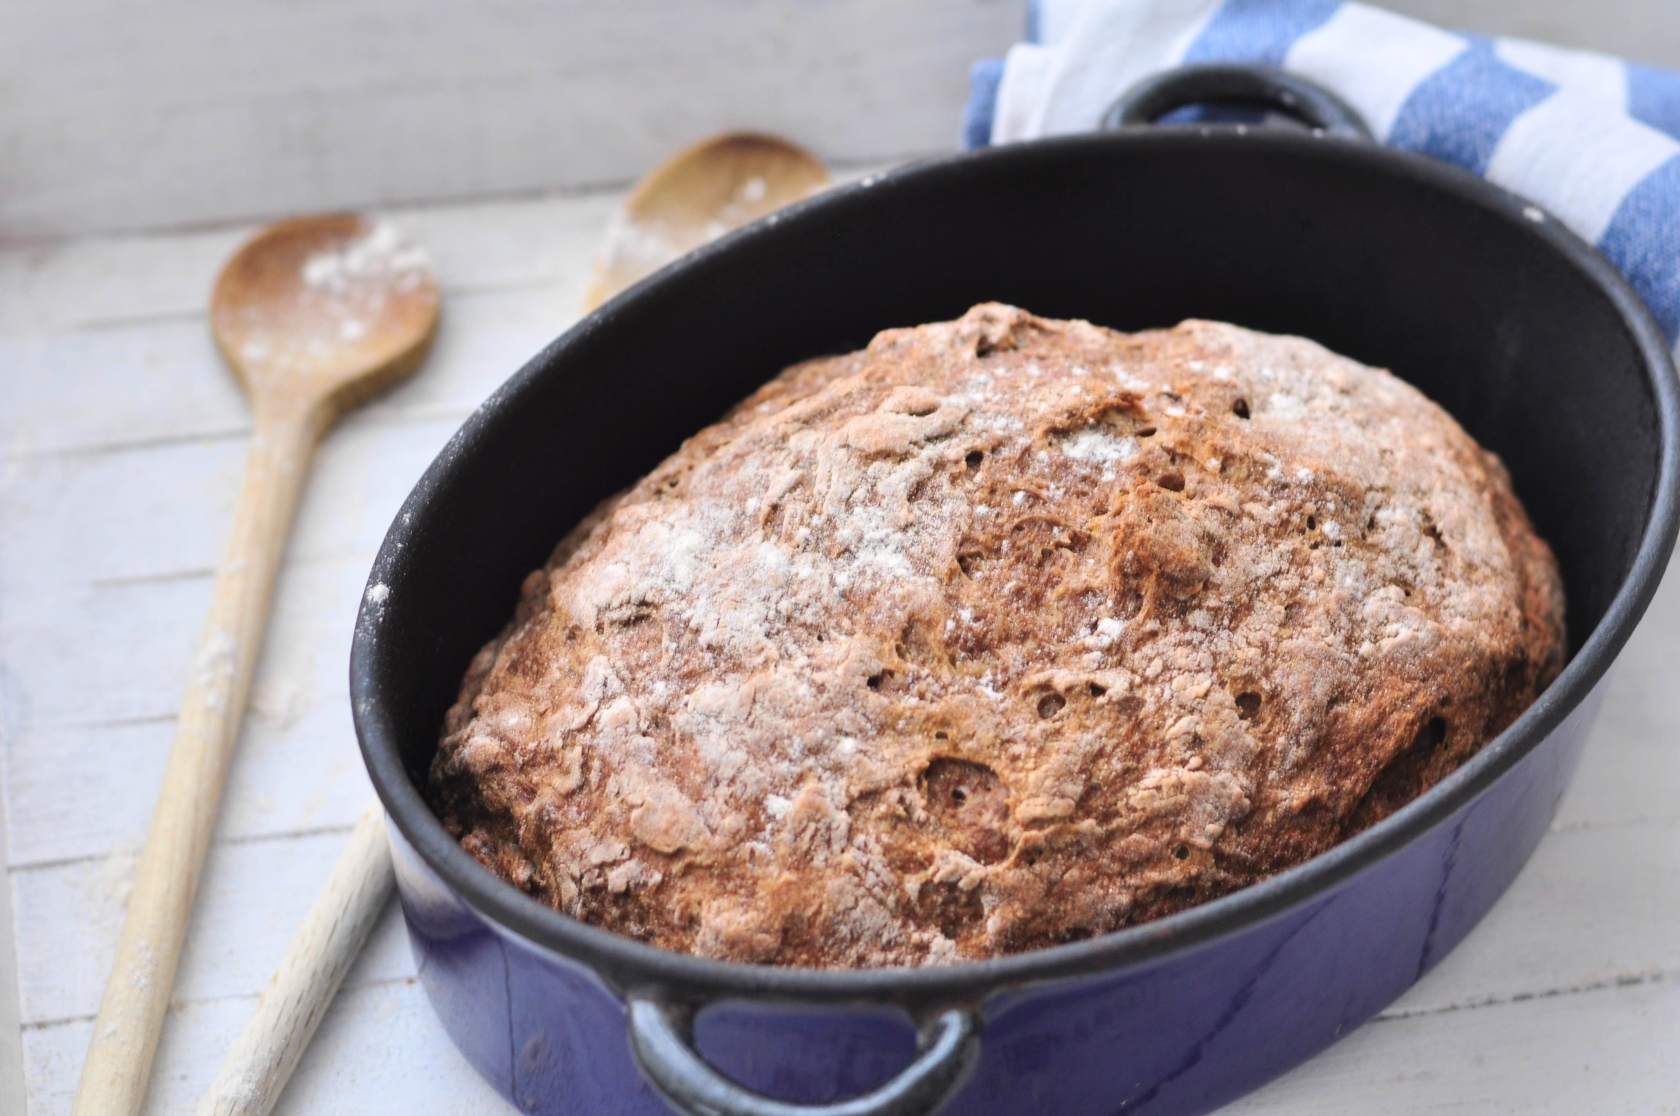
When baking the bread in a hot iron pot it gets delightfully crunchy all around. Sure, it takes some time but it is well worth it. The longer fermentation and the cold water gives the dough a good chance to develop fine yeast bubbles.
I always prefer to bake with fresh yeast but if you only have access to dry yeast, remember to use warm water (about 50°C) in order to activate the yeast.
Chia flour is more and more available in stores but if you can’t find it, you could also grind the whole chia seeds yourself. It is the easiest to do in an electric coffee grinder, but certainly also works in a mortar combined with some strong arm muscles.
Don’t worry if the dough is sticky while working with it, it’s a frequent “problem” when dealing with gluten-free doughs. I promise you, you will be absolutely fine in the end.
Are you allergic to nuts? Exclude when the walnuts and replace them roasted sunflower- or pumpkin seeds, don’t forget to replace the walnut oil to olive oil as well if needed.
Don’t cut the bread!
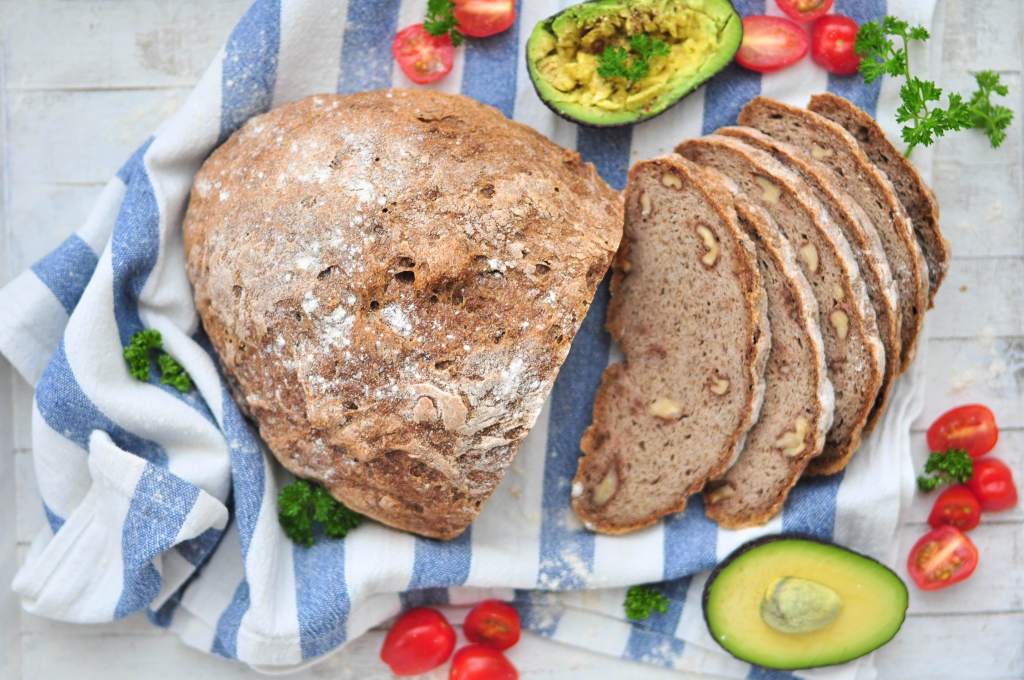
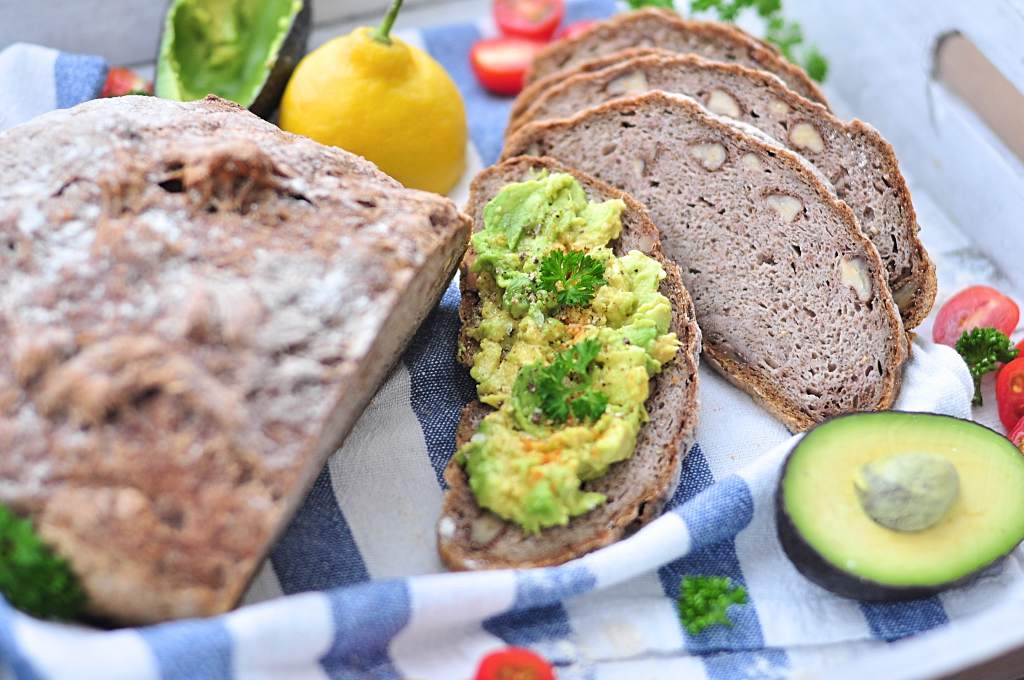
Resist the temptation of cutting the fresh-baked bread until the following day. It will do it good to leave it for a day! Cover the completely cooled off bread in a clean kitchen towel and enjoy the wonderful aromas of freshly baked bread that fills the kitchen. The following day, you can easily slice the bread into thin slices. The bread is preferably stored in a freezer bag in the freezer. Take up as many slices as you need and toast them before serving. The bread will feel wonderfully crisp in your mouth!
Ingredients :
- 20 gram / 0,7 oz fresh yeast, crumbled
- 600 gram / 21,6 oz cold water
- 1.5 teaspoon fine salt
- 25 gram / 2 tablespoons walnut oil
- 16 gram / 3 tablespoons physillium husk
- 50 gram / 1,85 oz chia flour
- 70 gram / 2.45 oz rice flour
- 300 gram / 10,5 oz buckwheat flour
- 50 gram / 1,7 oz roughly cut walnuts
Instructions
Instructions:
Add all the ingredients part from the flours to a bowl. See that the yeast is completely dissolved and then add the physillium husk to the bowl. Mix it very well and see that there are no lumps left. Leave it for 10 minutes to thicken up.
Add the flour and the chopped walnuts to the bowl and knead the dough shortly with light hands just to make it come together. When ready, the dough should be rather loose and slightly sticking to your fingers.
Cover the bowl well with plastic to avoid it to become dry. Let the dough rise for 2 hours.
Flour the surface and pour the dough on top. Shape the bread round by folding the outsides a few times under the bread. Avoid working too long with the bread. Place the dough on a baking parchment and cover it well. Let the dough rise for another 1 hour.Preheat the oven to 225° C. Place an iron pot in the oven with the lid on. Leave it for 45 minutes. The pot should get steaming hot!
Sprinkle some buckwheat flour around the dough on the baking parchment. Try avoiding too much handling with the dough, you don’t want to break the “air bubbles” in the dough.
Take out the pan from the oven, carefully it’s VERY hot! Take off the lid and place the dough in the pan. Don’t try to change its position once in! Cover with the lid and place the pan back in the oven. Lower the heat to 200 degrees C. Set the timer for 30 minutes.Take off the lid and continue baking the bread without the lid for another 60 minutes. If the bread is getting too dark at the end, cover it with some tinfoil.
Let the bread cool off on a rooster. Don’t cover it if you like to keep the crunchy surface.
When the bread is completely cooled off, cover it with a kitchen cloth and leave it until the day after before cutting it.
Keep the bread sliced in thin slices in the freezer, ready to defrost in the toaster whenever.
Note:
This recipe is free from gluten, lactose, milk protein, and eggs.

